A step-by-step guide on how to achieve the perfect cake drizzle.
Transform your cakes with a beautiful, flowing drip using this delicious, chocolate-flavoured topping! Food Colours' cake drip comes in seven vibrant colours, making it effortless to achieve a stunning, professional finish. The warmth controls the flow, allowing you to customise your design. Supplied in a 100g bottle with a precision narrow tip, it’s the essential cake drip for any creation!
1. Preparation of cake/bake
Ensure your cake is properly chilled before application. A cool surface will help the drip set quickly and achieve the desired effect.

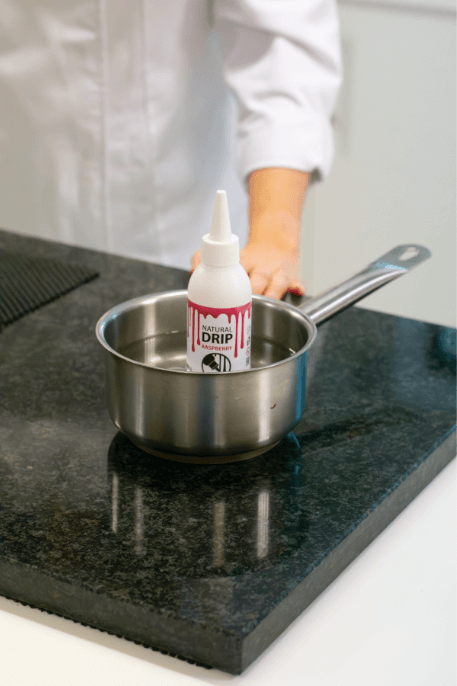
2. Warming the product
Before use, warm the cake drip bottle in a water bath to the maximum temperature 40°C.
3. Shake well
Before opening, shake the bottle well to ensure the ingredients are evenly mixed, as the product is an emulsion and may settle during storage.
4. Open and check consistency
Open the bottle and check the consistency of the drip. If it’s too thick, place the bottle back in the bowl of warm water for a few more minutes to thin it slightly. This should make it easier to achieve a smooth, dripping effect.
5. Test the drip
Do a quick test on a plate to check the flow and ensure it’s dripping as you desire. This will give you an idea of the amount of product to use for each drip on the cake.
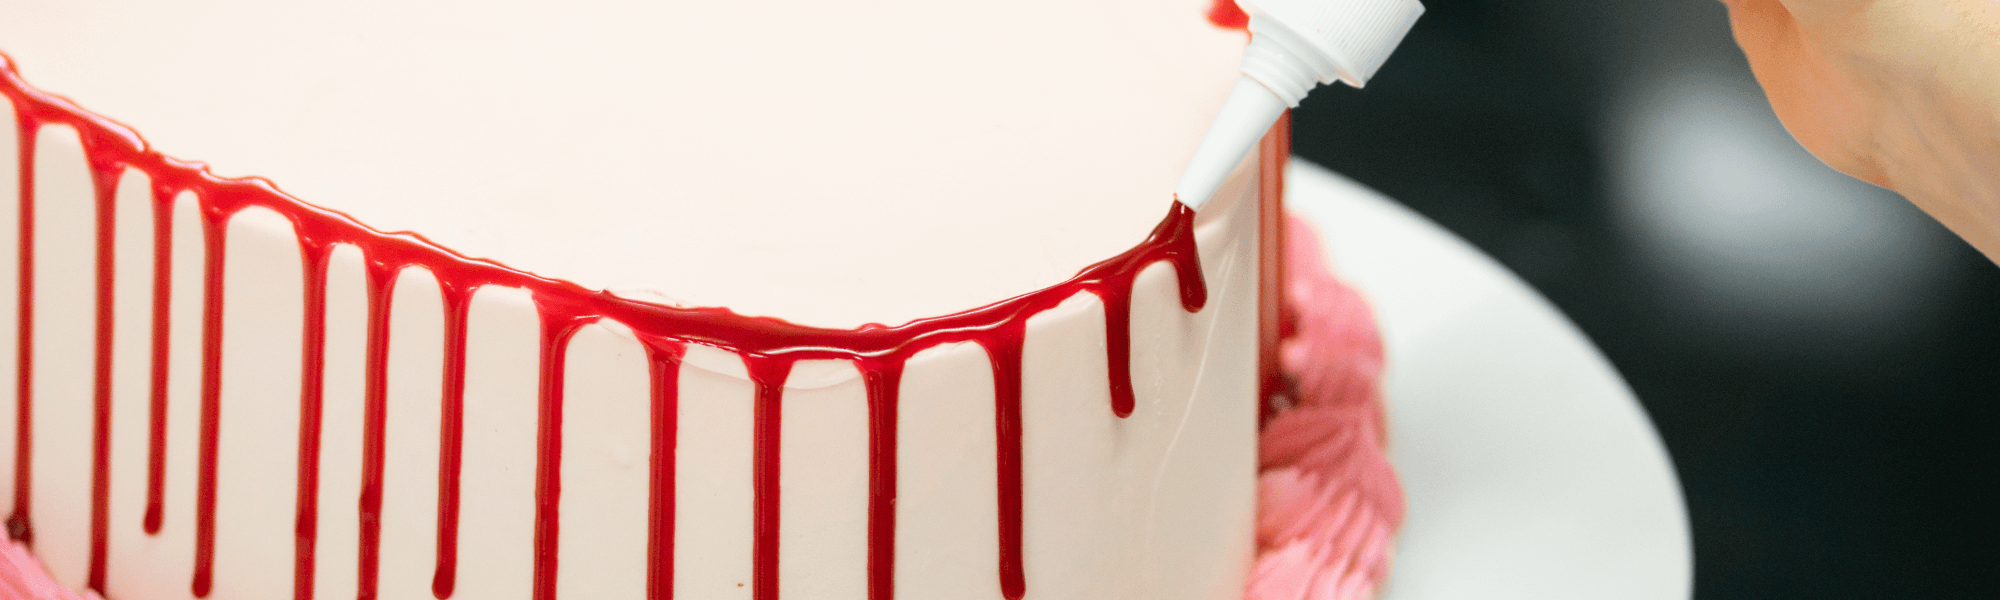
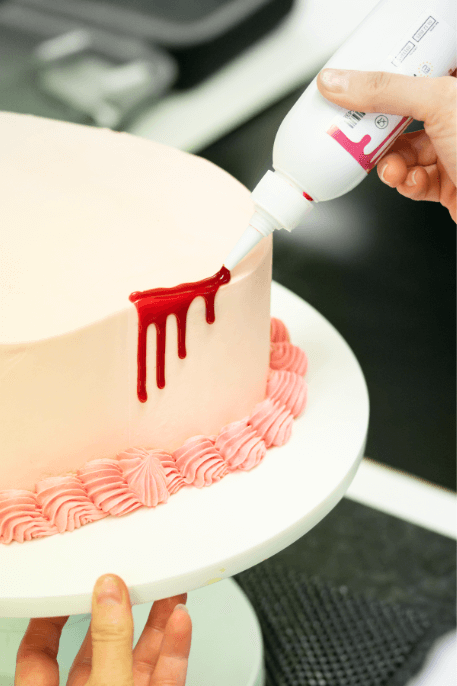
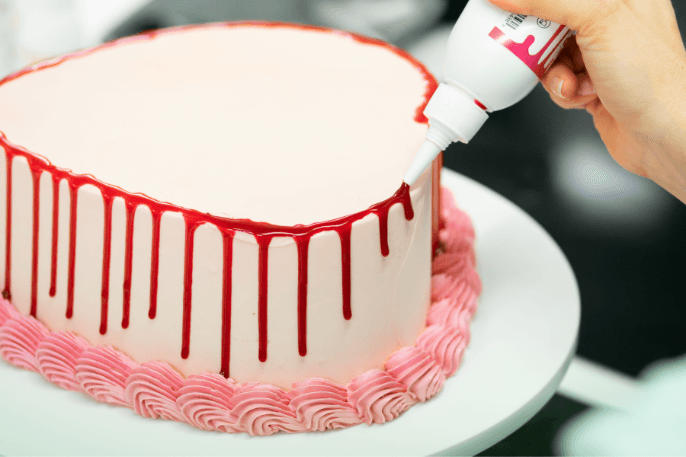
6. Application
Hold the bottle close to the edge of the cake and gently squeeze, allowing the drip to flow down the sides. Move the bottle around the edge to create evenly spaced drips. Vary the pressure to adjust the length of each drip for a natural look.
7. Cover the top surface (optional)
If desired, spread a thin layer of the product across the top surface of the cake for a glossy finish.
8. Setting the drip
After application, let the drip set. Since the cake was chilled beforehand, this should happen relatively quickly.
9. Storage
After use, if there is any product remaining, seal the bottle tightly and store it in the refrigerator. Use within thirty days of opening to maintain freshness.
10. Clean-up
Ensure any product residue is cleaned from the nozzle and cap before storing to avoid clogging.
By following these steps, you’ll be able to achieve a smooth, professional drip effect on your cakes and bakes. Happy dripping!